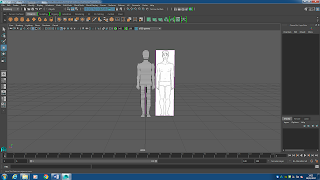
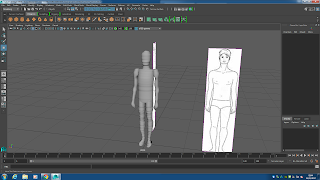
For this assignment I had to make a 3D model and document the process of making it. The first thing I did was get some reference images for the front and side of a human in order to make a more realistic model. I imported these into Maya using the view menu. I then used the toolbar on the left to lock the viewpoint to the front and sides when modelling.
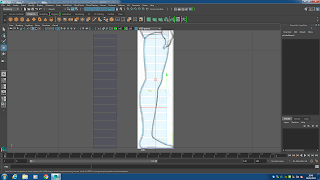 The first part of the model I worked on was the legs. For each body part I placed a cube and stretched it to make it roughly the size of the body part, the legs in this case, and changed the shape to be a wire frame instead of a solid shape in order to help with the modelling. I then used the far right toolbar to change the subdivision height in order to add more sections for me to edit in order to add more shape to the model. I then right clicked the polygon to change to the edge selector, I would then select each edge and stretch it to the outline of the reference image in
 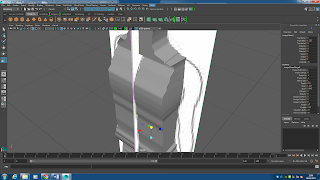 After creating one leg I used the duplicate special tool in the edit menu and changed the scale to -1 in order to flip it, I did this with both the arms and legs. When making a new body part I moved the already existing parts out of view as to not interfere with the wire frame of the new model. Once I was done making models from the front side I decided to move to the side view and adjust the models further to improve the proportions of the character and make them more realistic.
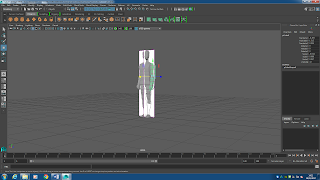
After finishing the rough shape of each body part I grouped them all together by placing the parts next to each other and shift clicking each part and selecting group from the edit menu. This keeps all the parts together so that it is all classed as one object that is moved as a group.
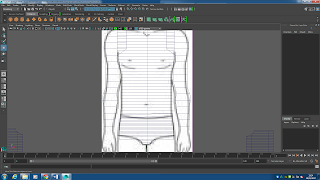 Once the model has been grouped I pressed the 3 key to smooth the edges out which made the model look less rough but it made the body somewhat thin so I used the extrude tool to make the proportions a bit more realistic and similar to how they were before.
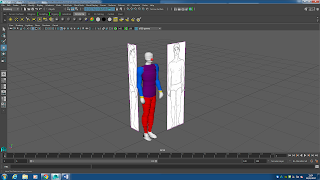
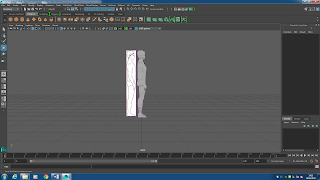 After that I textured the model by clicking the rendering tab and clicking one of the different filters. I just used the default sample because the others didn't fit too well on a character. I gave it a diverse set of colours as it makes sense for a game about clowns, with this I also decided to add a clown nose to the character to make it look better.
 Overall my model turned out decent in my opinion, the body still looks rather jagged in some areas like the legs and the head. Next time I will add more detail to the model by adding more sections to each shape. I could also add some features such as individual fingers and a detailed face. I could also add better textures next time to make the model stand out more as it just has single shades of colour. This has been my first time using Maya to make a humanoid model and it has been difficult to make but I feel like I have learnt some the basics to modelling characters.
Feedback:
Luke Anderson: I think that the model was well made though the model looked very jagged in the leg and head.
Kori Chamberlain: Due to the character having lumpy skin, you could use this as a character that has been wrapped up in candy floss.
 If you want this as a character that looks realistic I would recommend smoothing.
No comments:
Post a Comment